Tips

why are my baked goods turning blue?

So you’ve made some fruit scones or peach cupcakes and you notice that the end product is streaked blue and green. Sound familiar? In almost every case, it’s not you, it’s your baking powder. Baking powder with aluminum in it reacts to acidic ingredients, causing this discoloration and what many people find to be a “tinny” or metallic taste. Fortunately, this is as easy to rectify as ditching your baking powder for an aluminum-free brand, such as Rumford (the brand also makes Clabber Girl baking powder, which, oddly, does contain aluminum) or Bob’s Red Mill.

Tips

make your own bread flour

The biggest different between all-purpose and bread flour is the amount of gluten: bread flour has more of it. But it may seem annoying to have to keep a giant bag of bread flour around if you’re only an occasional bread-baker. Enter a product known as a “gluten additive” or gluten flour, something you can usually add one tablespoon of to each cup of all-purpose flour to turn it into bread flour. Think of all the cabinet space you’ll save!

Tips

how to stabilize whipped cream

If I could ice every cake in whipped cream, I would. But, because it is whipped with air alone, it doesn’t stay thick over many hours. One way to keep it stable is to dissolve 1 teaspoon of gelatin in 2 tablespoons of boiling water, cool it to room temperature and drizzle it into your whipping cream when it is halfway thickened. Then, whip it a little longer than usual — until it holds medium-firm peaks.

Updated in 2019: I’ve been remiss to add the simpler stabilization method I’ve used for the last several years. It’s adapted from Nancy Silverton and it never fails. For every cup of heavy cream you whip, beat in 1 to 2 tablespoons of sour cream or creme fraiche. It won’t make it tangy (or not in any truly notable way) but it does keep the whipped cream stable. I have had jars of this in the fridge for 4 to 5 days and found them just as fluffy as they were on the first day.

Tips

how to make whipped cream

Homemade whipped cream leaves the canned, and god forbid, bucket stuff in the dust (being actually whipped and cream), and takes less than five minutes to make. The trick: a cold bowl, clean beaters, and a ratio of about 1 cup of heavy or whipping cream to 1 tablespoon of powdered sugar, beaten until it holds soft peaks. Start low, so you don’t splash yourself when it is still liquid. Add a splash of flavoring (vanilla, almond or a liqueur) at the end for extra awesomeness.

Tips

how to flash freeze

Flash freezing — the process of spacing items out on a tray, freezing them until they are firm and then storing them in more space-efficient freezer bags — is the single most revolutionizing concept I have adapted into my cooking repertoire, because it allows us to freeze uncooked dumplings, gnocchi, biscuits, scones and even scooped cookies without them become one doughy mass.

Tips

how to measure partial eggs

Have a lot of egg whites or yolks leftover from a recipe but don’t know how many? A good approximation to keep in mind is that 1 large egg yields about 1 tablespoon of yolk plus 2 tablespoons of white. This has come particularly in handy when I have halved a recipe that called for an odd number of eggs — I simply beat one egg and measured out 1.5 tablespoons.

Tips

how to measure drops, pinches and dashes

In perhaps my most persnickety tip yet, did you know that when a recipe calls for a drop, pinch or dash of an ingredient, this can be translated into an actual measurement? 60 drops yields one teaspoon, 1 dash is equal to 1/16 of a teaspoon and 1 pinch is 1/8 of a teaspoon. Now, try to get your head around the fact that someone, somewhere actually took the time to measure these things out.

Tips

understanding cream labels

Cream is labeled illogically, with names and not numbers representing milk fat within. This ought to help sort them out: half-and-half (equal parts milk and cream) has 10.5 to 18 percent milk fat; light cream (a.k.a. table cream) ranges from 18 to 30 percent, but is most often actually 20 percent; whipping cream (a.k.a. light whipping cream) has 30 to 36 percent; and heavy cream (ironically, better for whipped cream than “whipping” cream, though both work) has 36 to 40 percent. Double cream (not widely available in the U.S.) has 42 percent. Oh, and it is awesome.

Tips

how to soft boil an egg

After years of struggling to perfectly poach an egg, I discovered I could get much of what I liked about them from soft-boiled eggs, with a zero percent failure rate to boot. My technique is just like that of my hard-boiled eggs, except I drop the boiling time down to 6 minutes. This assures a solid white and soft yolk, and the pinnacle of deliciousness spread over buttered toast and topped with a pinch of salt.

Tips

how to hard-boil an egg

[Updated] There are about as many techniques for hard-boiling eggs as there are eggs out there, but until 2017, I used the method my mother taught me because it never fails: Submerge a large egg in enough cold water to cover it and bring the water to a boil over medium-high heat. Once it begins to boil, set a timer for 10 minutes. Plunge the egg into cold water to get it to stop cooking. Plus, cold eggs are much easier to peel.

However, the trickiest part was always knowing when the water starts to boil. How would you if you weren’t standing over watching it, and we all know how that goes. In 2017, I realized that I could gently lower an egg into already boiling water and do almost exactly what’s written above — cook it for 10 minutes then plunge it into cold water, except now I use ice water and let it rest in there until it’s completely cold through, about 15 minutes — and it not only perfectly boils and egg, no pot-watching required, but it seemed to peel even more easily. I wondered if there was any science to it and whoa, there is.

Both my mom’s method and this new one work splendidly, and I promise will work for you, but I’m now fully converted to the newer method, because it’s easier and easier to peel.

hard-boiled eggseasy to peel

Hard-Boiled Eggs

  • Print

You’ll need to make cooking time adjustments if your eggs are extra-large or jumbo (more time) or at room temperature (less time).

  1. Bring a pot of water deep enough to cover large eggs, cold from the fridge, to a boil.
  2. Gently lower egg(s) into it. Definitely use a spoon and don’t assume you can gently drop it with your fingers. Trust me, this leads to burnt fingers and cracked eggs.
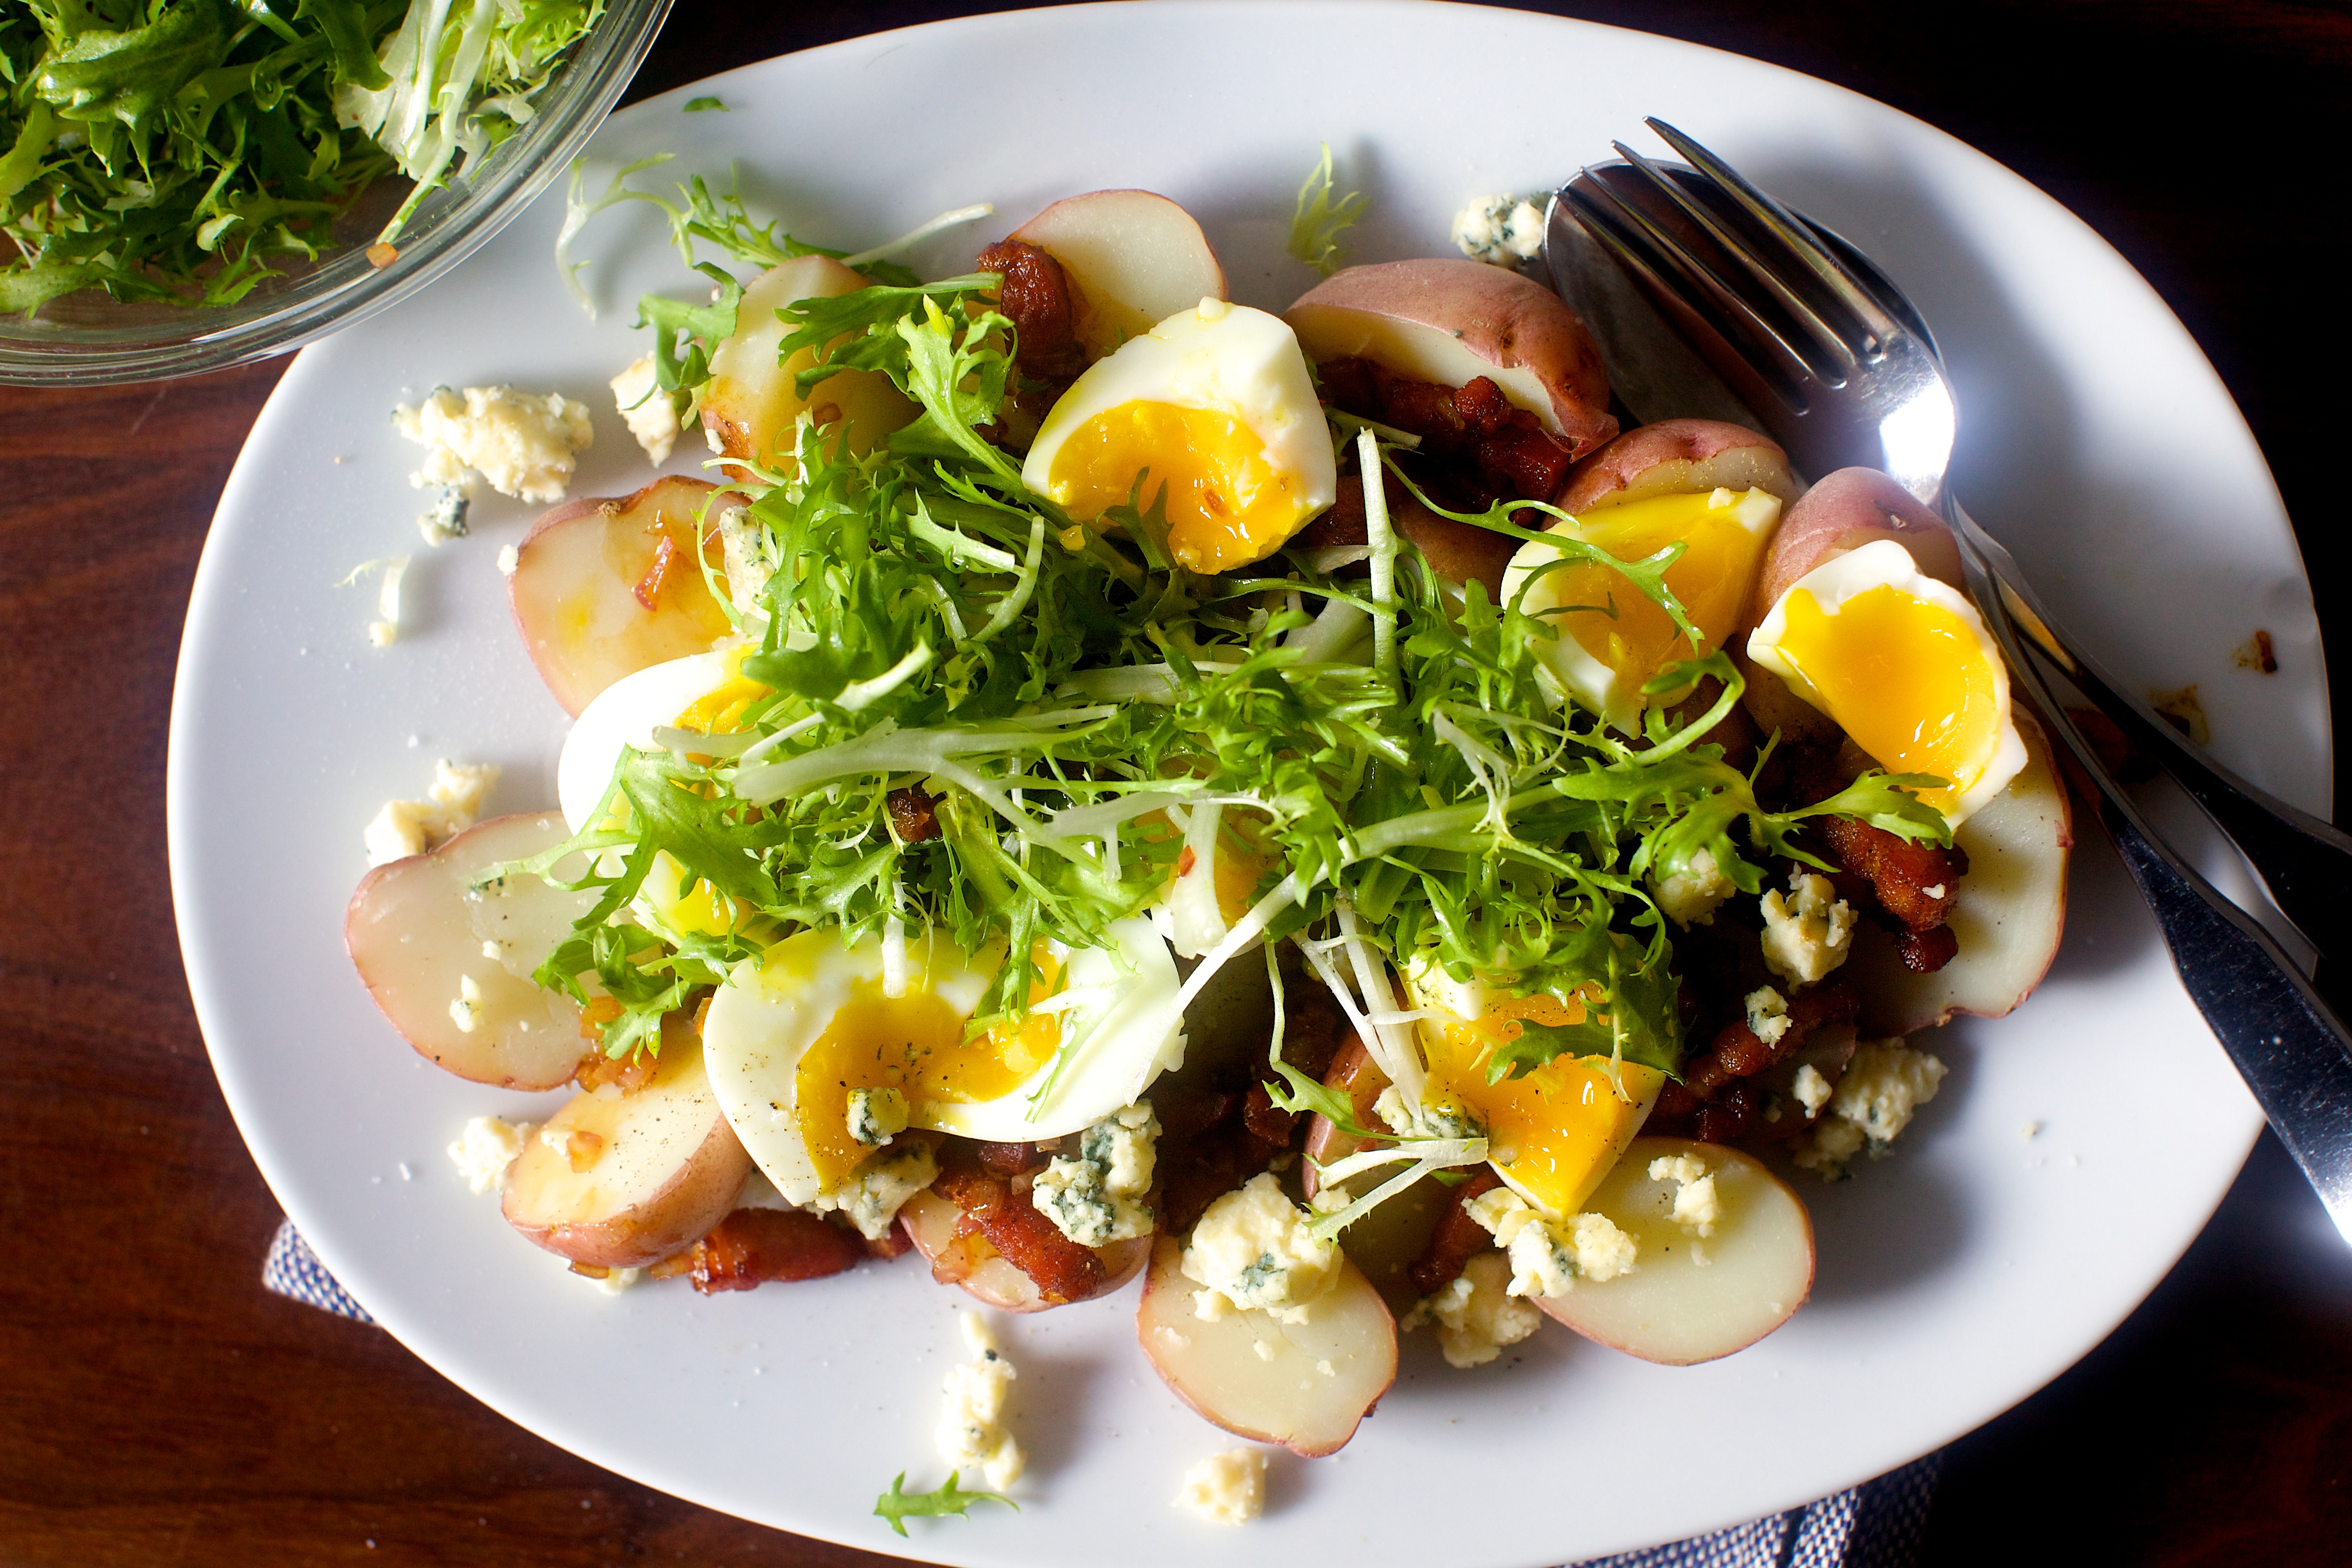
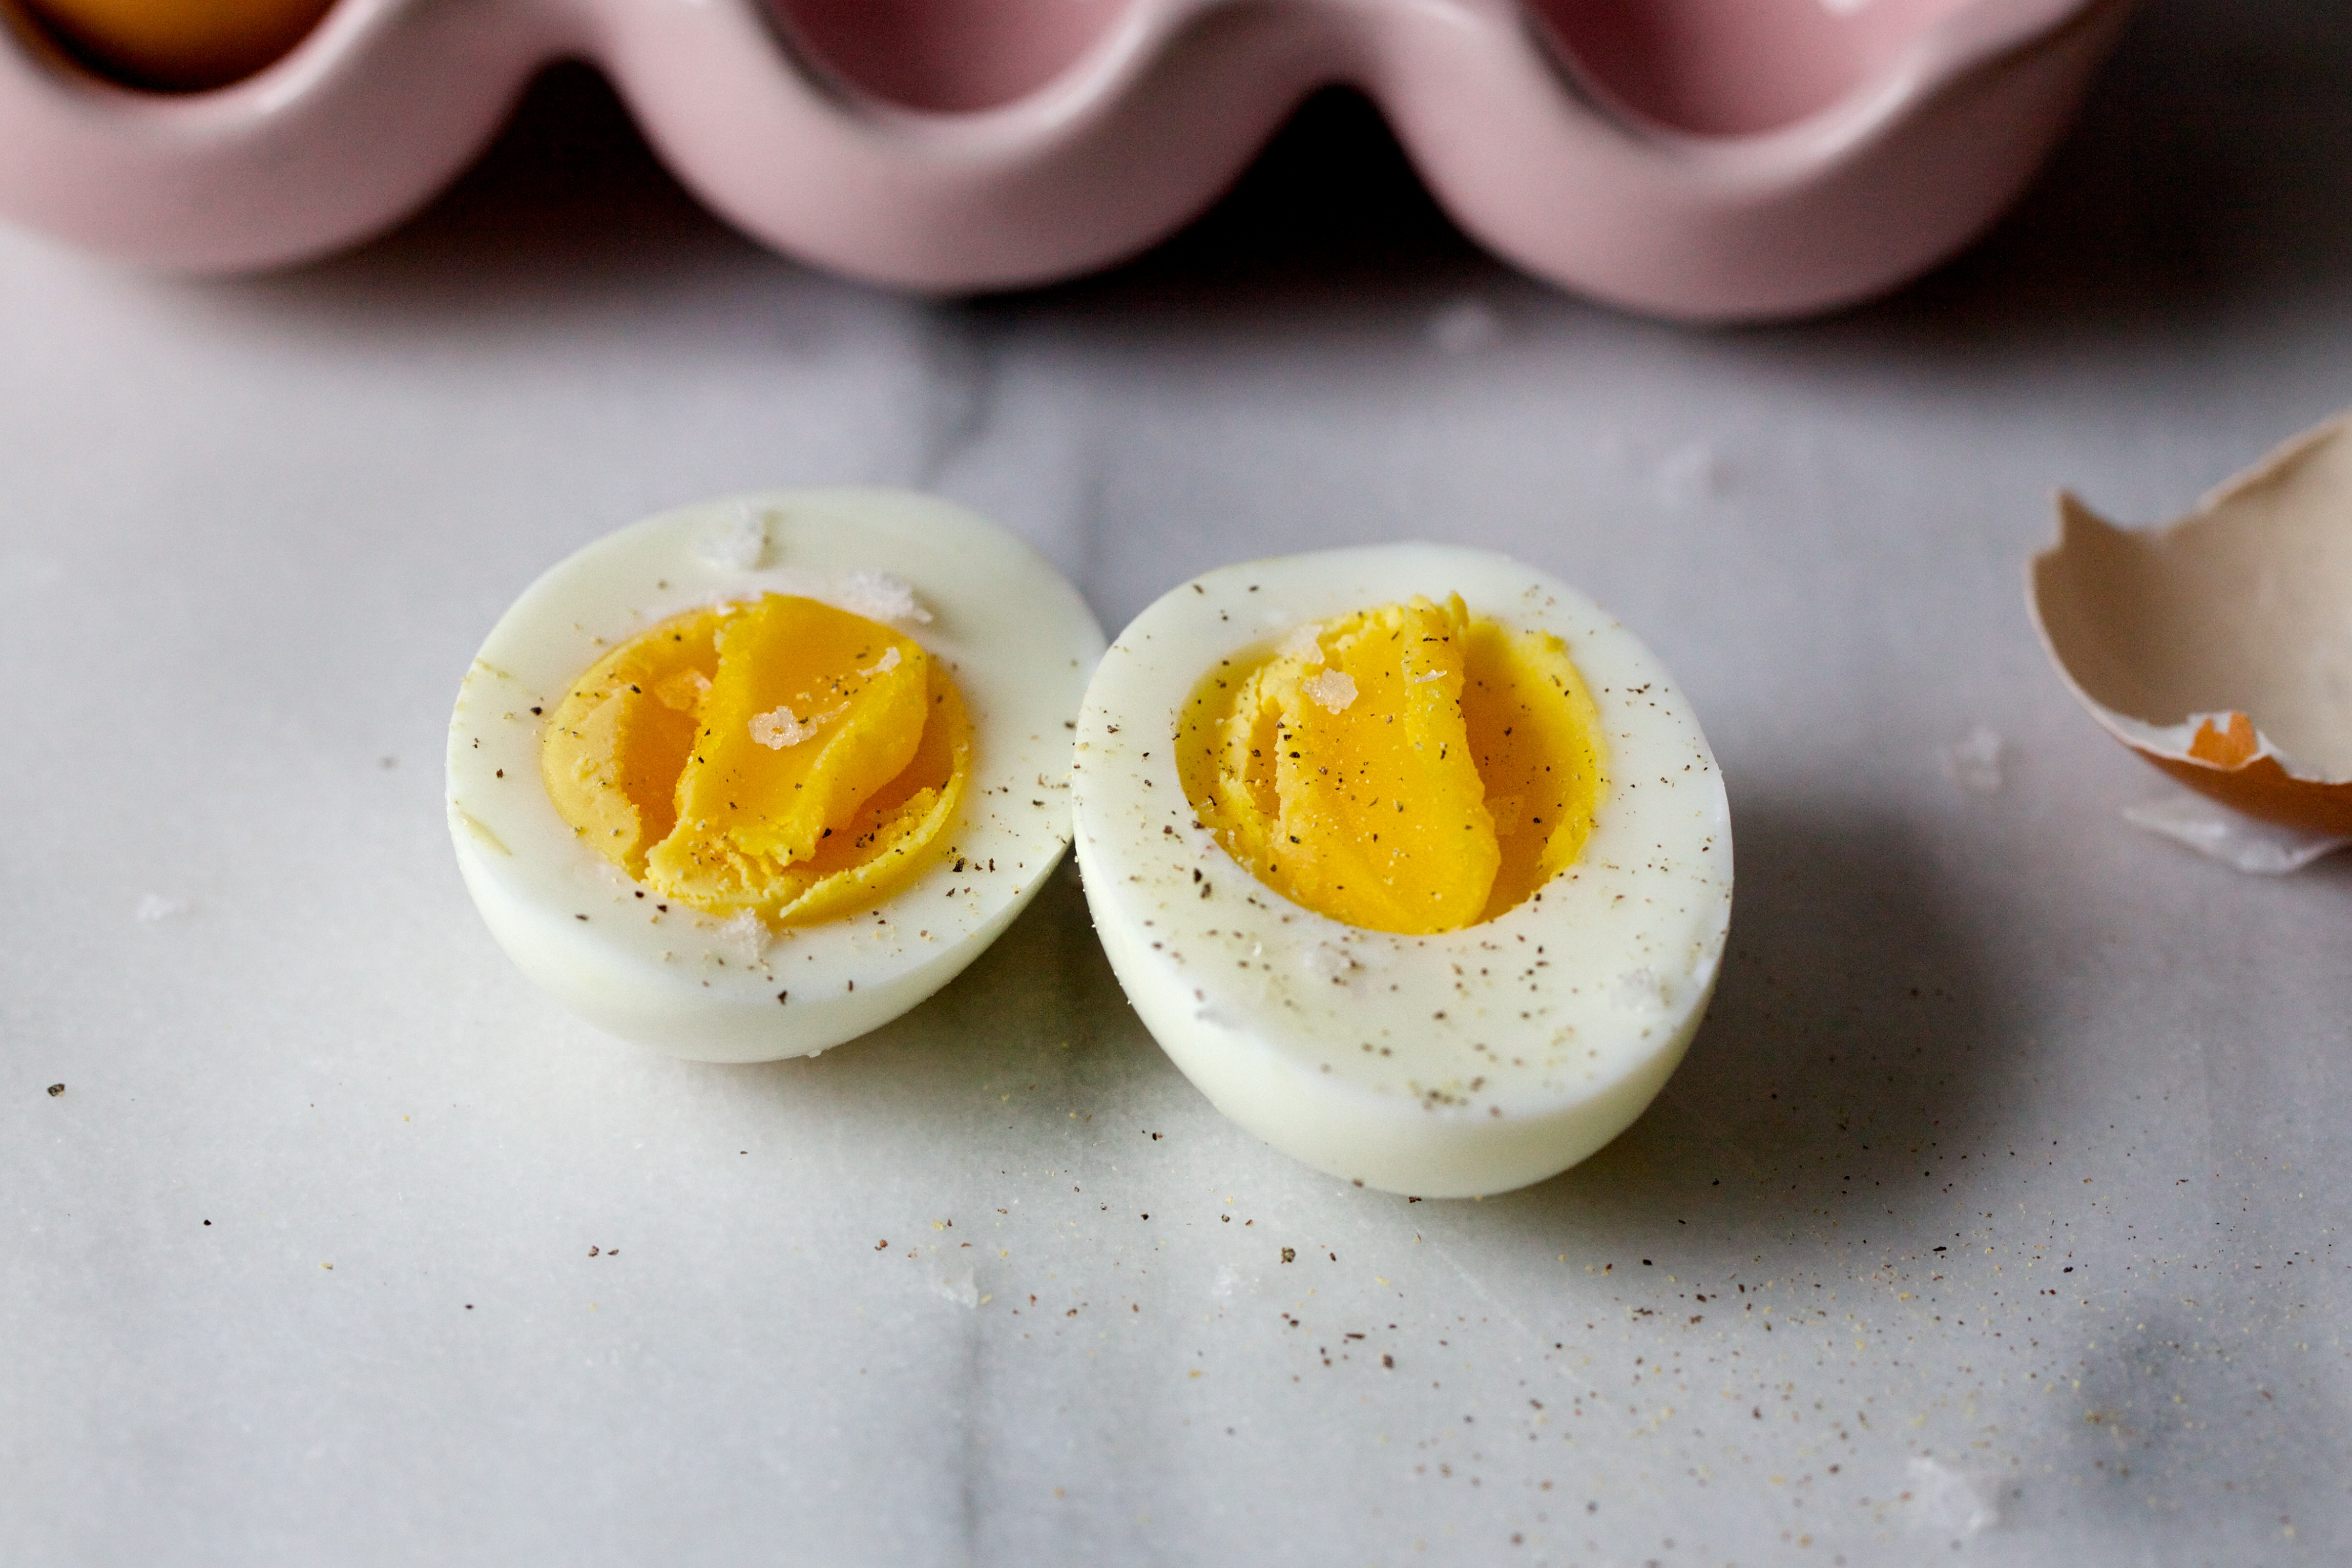
  3. Cook for 10 minutes, or, if you’re me, only 9 because you want eggs that look like the top picture here, a little darker in the center. You can lower the heat to a simmer if you wish, but I find it has no effect on the final egg.
  4. Plunge them in ice water until they’re fully cold, about 15 minutes. If the ice melts, add more to ensure the water stays very cold.
  5. Eggs should peel easily but if they gives you any resistance, peel them under running water.